Installing Linux used to be a complex task reserved for sysadmins, but Ubuntu has changed the game entirely. Whether you are a developer looking for a robust coding environment or just someone tired of Windows updates, Ubuntu Desktop offers a stable, secure, and free alternative.
However, simply downloading an ISO file isn't enough. Modern computers with UEFI, Secure Boot, and NVMe drives require specific preparation to ensure a smooth installation. This guide covers everything from creating a proper bootable USB to configuring BIOS settings that most tutorials skip.
If you are not ready to replace your main operating system yet, you might want to try installing WSL2 on Windows first to get a feel for the Linux command line without leaving Windows.
Prerequisites: What You Actually Need
The official minimum requirements are often too low for a smooth modern experience. Based on real-world usage with the GNOME desktop environment, here is what we recommend for a lag-free performance:
- Processor: 2 GHz dual-core processor or better (64-bit).
- RAM: While 4GB is the official minimum, 8GB or more is highly recommended for multitasking.
- Storage: 50GB of free disk space. The system takes about 10-15GB, but you will need room for updates, applications, and swap space.
- USB Drive: A flash drive with at least 8GB capacity (USB 3.0 is preferred for speed).
- Backup: This is critical. If you choose the wrong option during partitioning, you could lose all your data. Always back up your important files to an external drive or cloud storage before proceeding.
Step 1: Create a Bootable USB Drive (The Right Way)
You cannot just copy-paste the ISO file onto a USB stick. You need to burn the image to make it bootable.
Download the Ubuntu Image
Go to the official Ubuntu website and download the latest LTS (Long Term Support) version. LTS versions are supported for 5 years and are much more stable than interim releases.
Flash the Drive
We recommend using Rufus on Windows or BalenaEtcher on macOS/Linux.
- Insert your USB drive (WARNING: All data on the USB will be wiped).
- Open Rufus.
- Device: Select your USB stick.
- Boot selection: Click "Select" and choose the Ubuntu ISO you just downloaded.
- Partition scheme: Choose GPT for modern computers (UEFI) or MBR for older PCs (Legacy BIOS). If you are unsure, GPT is usually the safe bet for computers bought after 2013.
- Click Start. If asked, select Write in ISO Image mode.
Step 2: Critical BIOS/UEFI Settings (Don't Skip This)
Most installation failures happen because the computer refuses to boot from the USB or cannot see the hard drive. Restart your computer and enter the BIOS/UEFI menu (usually by tapping F2, F12, or Del repeatedly).
Make these changes:
- Disable Secure Boot: Although Ubuntu supports Secure Boot, disabling it temporarily eliminates potential driver signing issues during installation.
- Disable Fast Boot: This is crucial if you are dual-booting. Windows "Fast Startup" hibernates the disk, making it inaccessible to the Ubuntu installer.
- SATA Operation Mode: Ensure this is set to AHCI. If it is set to RAID or IDE, the installer might not detect your SSD.
Step 3: The Installation Process
Plug in your USB drive and boot from it. You will be greeted by the GRUB menu; select Try or Install Ubuntu.
1. Language and Keyboard
Select your language. For the keyboard, you can type in the test box to ensure special keys work correctly.
2. Updates and Other Software
This is a pivotal step.
- Normal Installation: Installs web browsers, utilities, office software, games, and media players. Recommended for beginners.
- Minimal Installation: Only installs the web browser and basic utilities. Good if you want a lean system.
- Other Options: Check the box that says Install third-party software for graphics and Wi-Fi hardware and additional media formats. This saves you hours of headache later by automatically installing proprietary drivers (like NVIDIA) and video codecs.
3. Installation Type (The Danger Zone)
Here you decide how Ubuntu will live on your disk.
- Erase disk and install Ubuntu: This format deletes everything on your drive (Windows, files, photos) and installs Ubuntu as the only OS. This is the cleanest option.
- Install Ubuntu alongside Windows Boot Manager: The installer will shrink your Windows partition to make room for Ubuntu. You will choose which OS to launch every time you turn on the computer.
- Something else: For advanced users who want to create custom partitions (
/home,/var,swap).
[img src="uploads/[year]/[month]/ubuntu-installation-type-partitioning.webp" cp="The Ubuntu installation type screen showing options for clean install vs dual boot."\]
4. User Setup
Select your time zone and create your user profile. Choose a strong password; you will need this for every administrative task (using sudo commands).
The installation will take about 10 to 20 minutes depending on your USB and SSD speed. Once finished, click Restart Now and remove the USB drive when prompted.
Step 4: Post-Installation Setup
Welcome to your new desktop! Before you start exploring, let's get the system ready for daily use.
Update Your System
Open the Terminal (Ctrl+Alt+T) and run the following command to update your package repositories and upgrade installed software:
sudo apt update && sudo apt upgrade -yInstall Essential Apps
Ubuntu comes with Firefox, but you might prefer Chrome. You can check our guide on how to install Chrome on Ubuntu for a quick setup. For developers, setting up the environment is next. You might want to update Node.js to the latest version or learn how to find a directory on Linux to navigate your file system efficiently.
Check Drivers
Search for "Additional Drivers" in the application menu. If you have a dedicated graphics card (NVIDIA/AMD) or a specific Wi-Fi card, this tool will help you switch from the open-source driver to the proprietary one for better performance.
Troubleshooting Common Errors
Black Screen After Boot (Nomodeset): If you see a black screen instead of the installer, your graphics card might be conflicting with the kernel.
- At the GRUB boot menu, highlight "Try or Install Ubuntu".
- Press E.
- Find the line starting with
linuxand addnomodesetat the end of that line. - Press F10 to boot.
Wi-Fi Adapter Not Found: This usually happens with newer laptops. Connect your phone via USB and enable USB Tethering to get temporary internet. Then, run sudo apt update and use the Additional Drivers tool mentioned above to find the correct driver.
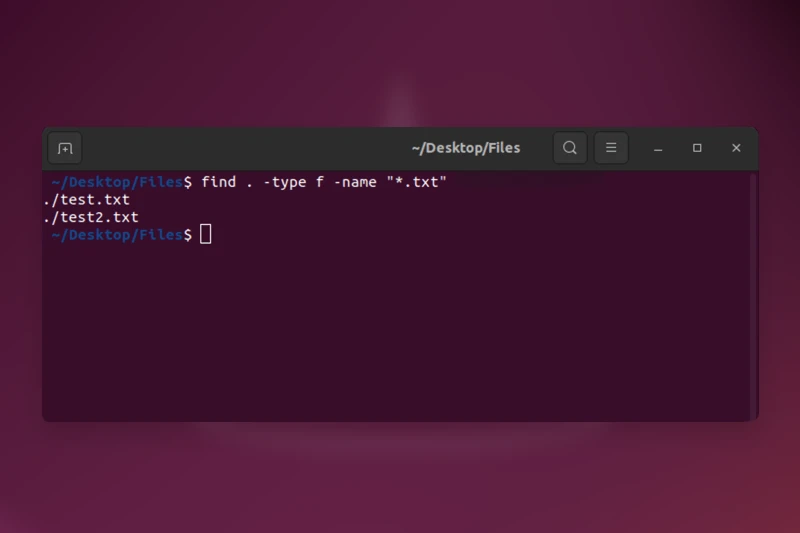
For those new to the command line, learning basic file management is essential. You can read about searching for files in Linux or how to use the Linux tail command to view logs if you encounter system errors.
Comments (0)
Sign in to comment
Report