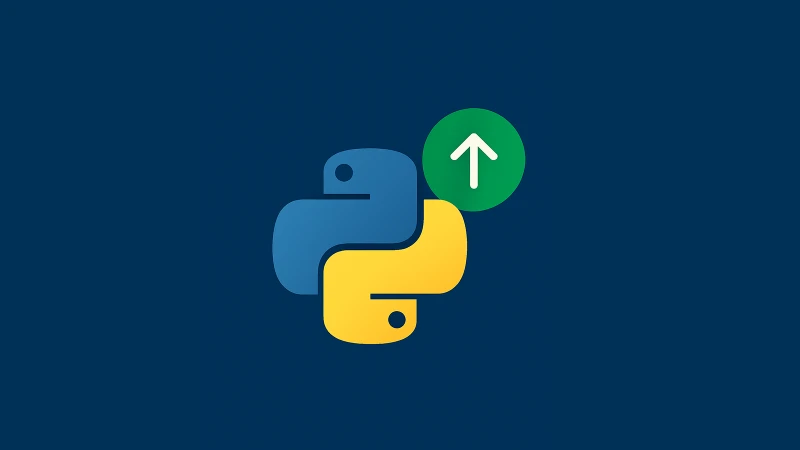
You are likely here because your terminal just warned you that a new release of pip is available, or worse, you encountered an installation error due to an outdated package manager. Keeping pip updated is not just about silencing that warning; it is about ensuring compatibility with the latest Python libraries and avoiding dependency conflicts.
While the process seems simple, modern operating systems and Python configurations (like virtual environments) can make it tricky. Below is the direct, no-nonsense method to get your pip version up to date on any system.
Quick Solution (The Just Fix It Commands)
If you want to skip the details and just run the command, choose your operating system below. Run these in your terminal or command prompt:
Windows:
python -m pip install --upgrade pipmacOS / Linux:
python3 -m pip install --upgrade pipLinux (If you get an 'externally managed' error):
apt install python3-pip(Do not force pip upgrade on system Python; read the Linux section below).
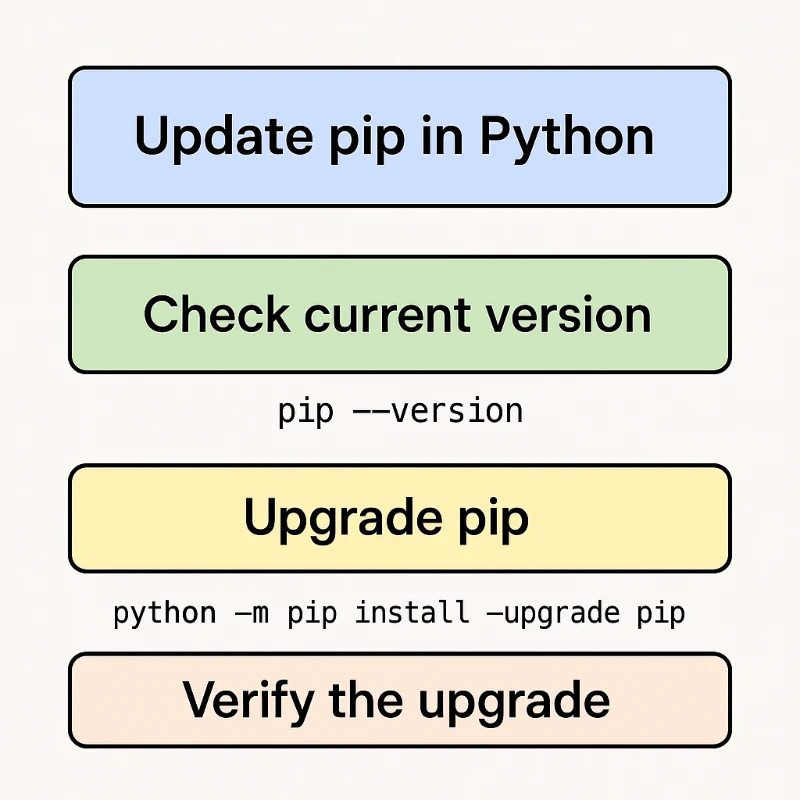
Checking Your Current Version
Before making changes, it is smart to know exactly what you are running. This helps you confirm if the upgrade actually worked later. Open your terminal (or CMD on Windows) and type:
pip --version
You will see an output similar to: pip 23.0.1 from /usr/lib/python3.10/site-packages/pip (python 3.10).
This line tells you two critical things: the pip version and the Python path it is attached to. If you have multiple Python versions installed (common on macOS and Linux), this path confirms which Python environment you are currently touching.
The Correct Way to Upgrade Pip (By OS)
Using just pip install ... can sometimes fail because of file locks or path issues. The most reliable method is executing pip as a module using python -m. This ensures the Python interpreter handles the upgrade process smoothly even if the pip script itself is being replaced.
Upgrading on Windows
On Windows, you generally have full control over your Python installation. Open Command Prompt or PowerShell and run:
python -m pip install --upgrade pip
If you see an error like Access is denied, it means your Python was installed in a system directory (like Program Files) and you are not running as an Administrator. You have two options:
Open Command Prompt as Administrator and run the command again.
Add the
--userflag to install the update only for your current user account:python -m pip install --upgrade pip --user
If Python is not recognized, you might need to check your system settings. We have a guide on how to use environment variables that can help you fix PATH issues.
Upgrading on macOS and Linux
macOS and Linux systems come with a pre-installed version of Python that the operating system uses for its own tasks. Messing with this system Python is risky.
For standard updates on your personal user profile, use python3 explicitely:
python3 -m pip install --upgrade pip
Critical Warning for Linux Users (Ubuntu 23.04+ / Debian 12+): If you try to run the command above on modern Linux distributions, you will likely get an error saying error: externally-managed-environment.
This is a safety feature. It prevents you from breaking system tools that rely on the specific version of libraries shipped with your OS. Do not try to bypass this with --break-system-packages unless you know exactly what you are doing. Instead:
Use the system package manager:
sudo apt update && sudo apt install python3-pipUse pipx for global tools: If you need a Python tool globally, use
pipx.Use a Virtual Environment: For development, always create a virtual environment (see below).
If you need to locate where your Python packages are landing to clean them up manually, you can refer to our guide on how to find a directory on Linux.
How to Upgrade Pip in Virtual Environments
This is where most developers spend their time. Every virtual environment has its own isolated pip. Upgrading your global pip does not upgrade the pip inside your venv.
Standard venv / virtualenv
Activate your environment first:
Windows:
.\venv\Scripts\activatemacOS/Linux:
source venv/bin/activate
Run the upgrade command:
python -m pip install --upgrade pip
You must do this for every new virtual environment you create if you want the latest features.
Managing Pip in Conda (Anaconda / Miniconda)
If you are a Data Scientist using Conda, stop. Do not use standard pip commands to upgrade pip itself inside a Conda environment unless absolutely necessary. Mixing pip and conda package managers can break your environment.
The safe way to upgrade pip in Conda is:
conda update pip
This ensures Conda handles the dependencies and keeps your environment stable.
Troubleshooting Common Errors
Even with the right commands, things can go wrong. Here are the most frequent issues.
ModuleNotFoundError: No module named 'pip' This usually happens if the upgrade was interrupted or the pip script got deleted. You can reinstall the standard library pip using:
python -m ensurepip --default-pip
Permission Errors on Windows If you see a long red error message about permissions, simply add the --user flag mentioned earlier. This installs the package to AppData/Roaming, which your user always has access to.
SSL/TLS Errors If you are on a very old machine or corporate network, pip might fail to connect to PyPI. You might need to trust the host manually (only do this if you trust your network):
python -m pip install --upgrade pip --trusted-host pypi.org --trusted-host files.pythonhosted.org
How to Downgrade Pip
Sometimes, the latest and greatest version introduces a bug or breaks compatibility with a legacy project. You can easily roll back to a specific version.
To downgrade, you just need to specify the version number:
python -m pip install pip==23.0
Replace 23.0 with whatever version you need. This is a handy trick to keep in your back pocket when a new update unexpectedly breaks your workflow.