Mixing pip and conda blindly is the fastest way to corrupt your entire Python setup and spend hours untangling dependency conflicts. Isolating your projects from day one prevents those dreaded solver loops and broken imports. Here are the exact commands professionals use to keep their systems stable.
- Create new environment:
conda create --name myenv python=3.10 - Activate environment:
conda activate myenv - List all environments:
conda env list - Export for teams:
conda env export --from-history > env.yml - Remove environment:
conda env remove --name myenv
The Golden Rule: Never Install Packages in the Base Environment
Your base environment is strictly for running the core conda infrastructure. Installing project-specific packages here is a massive mistake. Every new library you add to base increases the chance of breaking the package manager itself.
Always create a fresh space for every new project. If your base environment breaks, you often have to reinstall the entire distribution. Keeping it clean guarantees that you always have a working foundation to build upon.
How to Create a Conda Environment (The Right Way)
Creating a virtual space takes only a few seconds. The basic command simply requires you to name your new workspace. Typing conda create --name data_project sets up a completely empty folder ready for your tools.
Specifying Python Versions and Using conda-forge
You rarely want an empty environment. It is much smarter to define your Python version right at the start. Use conda create --name data_project python=3.11 to lock in the exact interpreter you need.
For the most up-to-date packages, always rely on the conda-forge channel. The default channel often lags behind official releases. Adding -c conda-forge to your creation command ensures you get the latest secure versions of your dependencies.
Setting Custom Locations with the --prefix Flag
Sometimes you want your environment to live right inside your project folder instead of a hidden system directory. This makes cleanup incredibly easy when you delete the repository.
Use conda create --prefix ./env pandas numpy to build the environment locally. You then activate it by pointing directly to that folder path. This keeps large ML projects self-contained and makes cleanup as simple as deleting the repo folder.
Activating, Inspecting, and Deactivating Environments
Before you can use your new workspace, you have to turn it on. Type conda activate data_project and you will see the name appear in your terminal prompt. You are now safely inside your isolated bubble.
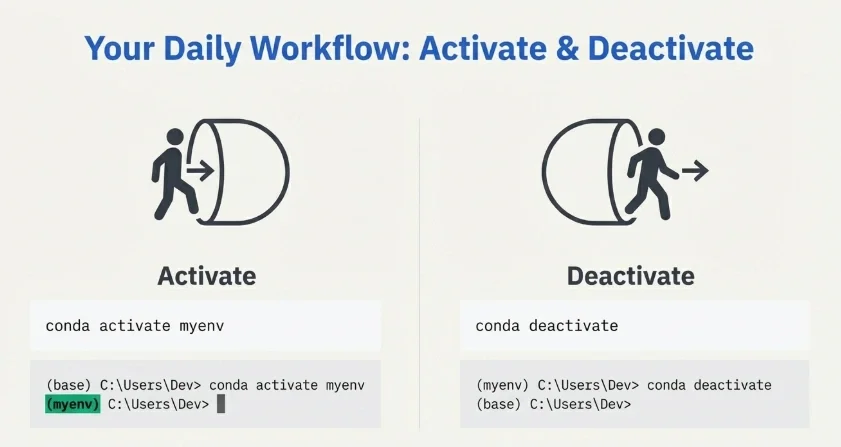
To see exactly what is installed inside this active bubble, run conda list. This gives you a clear view of every package and its exact version number. For a more detailed breakdown of all environments on your machine, listing conda environments is a one-command operation. Once you finish your work, typing conda deactivate returns you safely to your base setup.
Managing Dependencies: The Conda vs. Pip Workflow
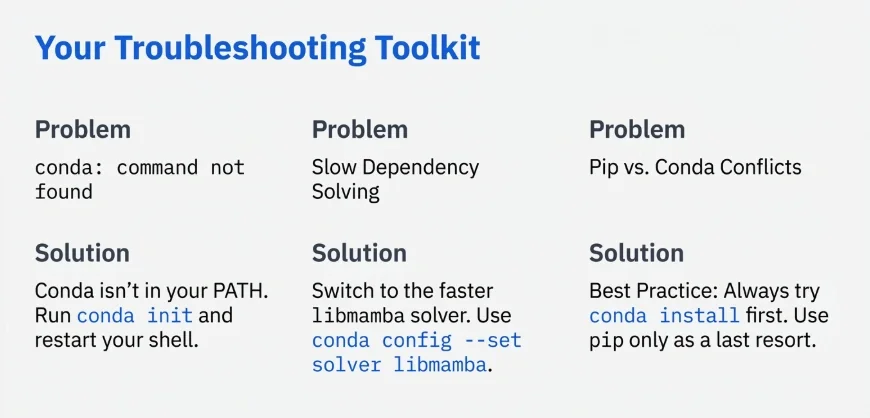
Many beginners believe they have to choose between pip and conda. They actually work well together if you follow one strict workflow. Mixing them carelessly creates a chaotic environment where neither manager knows what the other is doing.
Rule #1: Conda First, Pip Last
This is the most critical workflow rule you will ever learn. Always install every possible package using conda first. Conda features a powerful SAT solver that checks for conflicts across all your libraries before installing anything.
Only use pip for packages that are completely unavailable on conda channels. Once you run pip inside your environment, never run conda install again. Conda cannot manage the dependencies pip introduces, and doing so will instantly break your environment structure. The same principle applies when upgrading pip itself inside an active environment: do it after all conda installs are complete.
Updating Existing Packages
Updating tools does not require destroying your setup. If you just need a newer version of a specific library, type conda update scipy. The solver will figure out the safest way to upgrade without breaking the rest of your tools.
Exporting and Sharing Conda Environments
When you want your colleague to run your code, you need to share your exact setup. Exporting your environment creates a simple YAML file containing your blueprints.
Cross-Platform Teams: Why --from-history is Critical
Exporting a standard YAML file includes highly specific operating system files. If you generate a file on a Mac and send it to a Windows user, it will fail immediately.
Always use conda env export --from-history > environment.yml when working in mixed OS teams. This command only exports the packages you explicitly asked for, ignoring platform-specific sub-dependencies. It is the only guaranteed way to make cross-platform sharing work.
Exact Reproducibility: Using the --no-builds Flag
If your team uses the exact same operating system, you want absolute cloning accuracy. Using conda env export --no-builds > environment.yml drops the system-specific build hashes but keeps the exact version numbers. This ensures your production server matches your local machine perfectly.
Recreating and Cloning Environments
You receive a YAML file from a teammate and need to build the workspace. Run conda env create -f environment.yml and the package manager handles the rest.
If you want to test a risky upgrade without breaking your current setup, cloning is your best option. Typing conda create --name test_env --clone original_env creates an exact duplicate in seconds. You can now experiment safely.
When conda env create -f environment.yml fails: The most common reason is a package version no longer available on the channel. Add --no-builds to the export step if you haven't already, or remove exact version pins for the offending package from the YAML and let conda pick a compatible version. Removing old environments before recreating from a clean YAML also prevents leftover state from causing solver conflicts.
Using conda-pack for Offline Deployments
Sometimes you need to deploy your code on a secure server with no internet access. Standard YAML files are useless here because they require a connection to download packages.
The tool conda-pack solves this perfectly. It bundles your entire active environment into a single compressed tarball.
# Install conda-pack first
conda install -c conda-forge conda-pack

# Pack the active environment
conda pack -n myenv -o myenv.tar.gz

# On the offline machine: extract and activate
mkdir -p /opt/myenv && tar -xzf myenv.tar.gz -C /opt/myenv
source /opt/myenv/bin/activate
conda-unpack
You transfer the tarball to the offline machine via USB and extract it. No internet connection required.
Speeding Up Dependency Solving: Mamba and libmamba
Waiting for the standard environment solver to figure out conflicts takes forever on large projects. You do not have to accept this slow performance.
You can switch the default solver to libmamba, which is written in C++ and works significantly faster.
# Enable the libmamba solver (conda 22.11+)
conda install -n base -c conda-forge conda-libmamba-solver
conda config --set solver libmamba
Alternatively, install the standalone Mamba tool as a full drop-in replacement. Every conda command works identically with mamba, just faster.
conda install -n base -c conda-forge mamba
After this, use mamba create, mamba install, and mamba env export exactly as you would with conda.
Anaconda vs. Miniconda: Which One Should You Actually Use?
Downloading the full Anaconda distribution gives you gigabytes of data science tools you will probably never open. It bloats your hard drive and slows down your system.
Miniconda is the undisputed choice for developers. It installs only Python and the package manager itself. You start with a perfectly clean slate and install only the specific tools your project actually requires. This keeps your system lean, fast, and entirely under your control.
Start with Miniconda, create a named environment for every project, use --from-history for any export you share with teammates on different operating systems, and enable libmamba once your projects grow large enough that solver speed becomes noticeable. That covers the full workflow for most development teams.