Clicking the uninstall button in VS Code leaves behind a hidden trail of cached states and broken authentication tokens inside your globalStorage directory. Purging these residual directories is the required method to factory reset a glitchy extension and prevent Settings Sync from reviving old bugs.
- Windows Path:
%APPDATA%\Code\User\globalStorage - macOS Path:
~/Library/Application Support/Code/User/globalStorage - Linux Path:
~/.config/Code/User/globalStorage - VS Code Insiders:
AppData\Local\Code - Insiders\User\globalStorage - CLI Command:
code --uninstall-extension publisher.extension-name
Why Uninstalling a VS Code Extension Fails
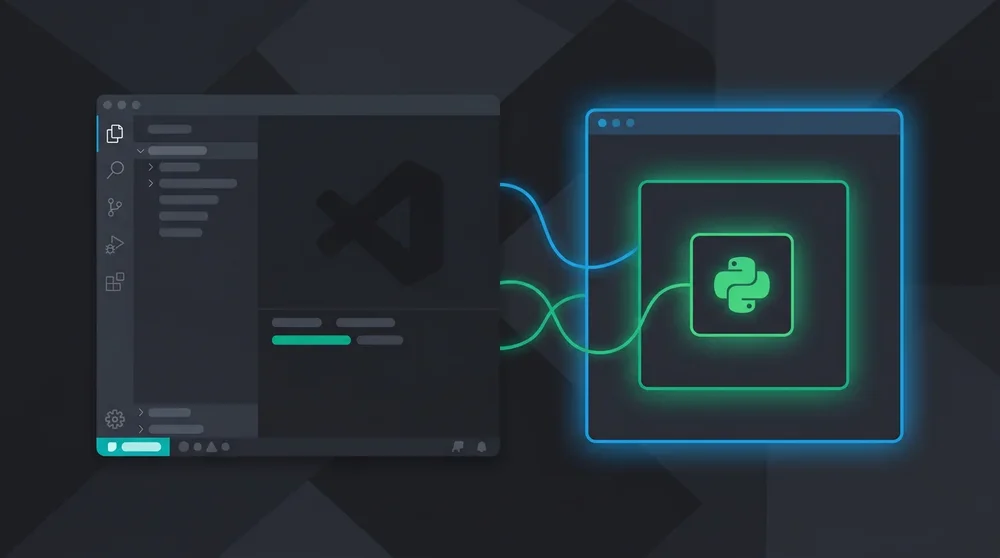
VS Code separates the application logic from your personal configuration data. Pressing uninstall only removes the source code folder. Your custom rules, cached workspace states, and authentication tokens remain untouched in the globalStorage folder. Reinstalling the tool simply reconnects it to this corrupted data pool.
The extension host process caches these files aggressively. Running the Developer: Reload Window command provides a quick soft reset, but a persistent configuration error demands a complete hard wipe of the storage directories.
Step 1: Disable Settings Sync
Do not skip this step. VS Code uses Settings Sync to constantly back up your configurations to the cloud. Deleting your local cache while sync is active just triggers an immediate download of the exact same broken files.
Open your Command Palette and type Preferences: Settings Sync: Turn Off. Choose to keep your data locally for now. You need a completely isolated environment to perform a clean wipe. Once the reset is successful, re-enable sync and choose the Replace Local option to overwrite the cloud data with your fresh local state.
Step 2: Delete Extension Data from globalStorage
Every tool you install gets a dedicated folder inside globalStorage. Deleting this specific folder eradicates all saved preferences and cached states.
First, locate your target extension ID. Go to the Extensions panel, click on the tool you want to reset and look for the Identifier section in the details pane. It looks like publisher.extension-name.
Navigate to your operating system's specific path and delete the folder matching that identifier.
Windows: Press Win + R and paste:
%APPDATA%\Code\User\globalStorage
macOS: Open Finder, press Cmd + Shift + G and enter:
~/Library/Application Support/Code/User/globalStorage
Linux: Navigate to:
~/.config/Code/User/globalStorage
On Linux, you can find the exact directory path if you are not sure where your home directory resolves.
Step 3: Clear workspaceStorage for Project-Specific Issues
Sometimes an extension works perfectly in one project but crashes entirely in another. Project-specific errors live in the workspaceStorage folder located right next to your globalStorage directory.
VS Code names these folders using long random alphanumeric hashes. Each folder contains a workspace.json file that shows the exact project path it belongs to. Open these files to identify your broken project, then delete the entire hash folder once confirmed.
Step 4: Remove the Extension Source Files
The final cleanup step involves removing the downloaded source files. VS Code stores these separately from your user data.
Windows:
%USERPROFILE%\.vscode\extensions
macOS and Linux:
~/.vscode/extensions
Find the folder bearing the publisher identifier and delete it completely. Your system is now free of this extension.
Alternative: Using the Code CLI to Uninstall
Server environments and automated setups require a different approach. Use the Code CLI to strip out extensions without opening the visual interface.
code --uninstall-extension publisher.extension-name
This is useful when a broken extension prevents the visual editor from loading properly, or when managing VS Code on a remote machine without a GUI.
Resetting Extensions on Remote SSH Servers
Working on a remote server changes the storage architecture entirely. The extension data is stored on the remote machine, not locally.
Log into your remote server and navigate to:
~/.vscode-server/extensions
Delete the corrupted folders directly from the server. Restart your local VS Code instance to force a fresh connection. If you are setting up VS Code Remote for the first time, installing WSL2 on Windows follows a similar pattern for local Linux environments.
Specific Storage Paths for Popular Extensions
Finding the exact folder for widely used tools saves troubleshooting time. Look for these folder names inside your globalStorage directory:
- Prettier:
esbenp.prettier-vscode - ESLint:
dbaeumer.vscode-eslint - GitLens:
eamodio.gitlens - Python:
ms-python.python
Delete the specific folder to reset that individual tool without affecting your other workspace setups.
How to Verify the Reset Was Successful
Reinstall the tool from the extensions marketplace. A successful hard reset triggers first-time welcome messages and setup wizards. If the extension immediately loads with your old preferences, a cached file still exists somewhere. Check that Settings Sync is fully disabled and re-examine the globalStorage paths above.
The first time setup dialog is your confirmation. No dialog means the cache is still there.