You have likely received a file ending in .eps from a designer or a client, and when you tried to open it, your computer probably didn't know what to do with it. Don't worry, nothing is broken. An EPS file is the industry standard for high-quality printing, but it requires specific tools to view or edit properly.
In this guide, I will explain exactly what this file is and, more importantly, how you can open it using both professional software and free alternatives you might already have.
What Exactly is an EPS File?
EPS stands for Encapsulated PostScript. Unlike the JPEGs or PNGs you use every day, an EPS is not made of pixels. It is a vector file format.
To put it simply, while a photo (raster) is a grid of colored dots, an EPS file is a complex mathematical formula that tells the computer how to draw shapes, lines, and curves. This matters because you can scale an EPS file to the size of a billboard or shrink it down to a business card, and it will remain perfectly sharp. There is zero loss of quality.
That is why professional logos, icons, and print illustrations are almost always saved in this format. If you are working on a project involving branding or large-scale printing, you definitely want to keep the master EPS file safe.
How to Open and Edit EPS Files
Opening these files can be tricky because standard image viewers usually don't support the PostScript language inside them. Here are the best ways to handle them, ranging from industry-standard tools to completely free workarounds.
1. Adobe Illustrator (The Gold Standard)
Since Adobe developed the EPS format back in the 80s, Adobe Illustrator is the native environment for these files. If you have access to this software, it is the best way to open, edit, and save EPS files. You can manipulate every single anchor point, change colors, and resize elements without any restrictions.
2. Adobe Photoshop (The Smart Object Trick)
Many people try to drag an EPS file into Photoshop and are disappointed when it asks for a resolution size. This happens because Photoshop is pixel-based (raster). By default, it "flattens" your vector into a regular image, meaning you lose that infinite scalability.
However, there is a pro tip to handle this better. Instead of just opening the file, you should place it as a Smart Object.
As you can see in the interface above, when you handle files in Photoshop, maintaining layer integrity is key. If you are doing advanced edits, such as using Photoshop AI tools, keeping the original vector data as a Smart Object allows you to resize the logo or illustration later without it becoming pixelated or blurry.
3. Inkscape (The Best Free Alternative)
If you don't want to pay for a creative cloud subscription, Inkscape is your best bet. It is a powerful, open-source vector editor that handles EPS files quite well.
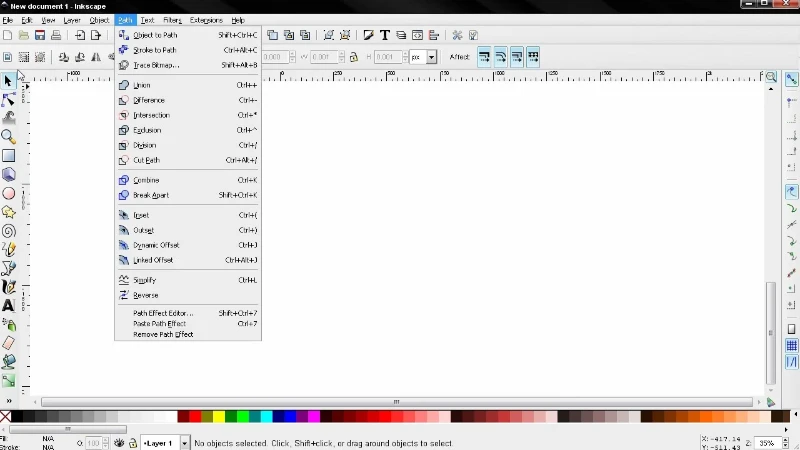
There is one small catch with Inkscape on Windows. Sometimes it needs a helper program called Ghostscript to interpret the EPS file correctly. If you get an error when importing, you simply need to install Ghostscript and add it to your system path. Once that is set up, Inkscape allows you to edit vectors almost as freely as Illustrator.
4. Google Drive (The Quick Viewer)
If you just need to see what is inside the file and don't need to edit it, you don't need to install anything.
Simply upload the EPS file to Google Drive. Google's preview engine is surprisingly good at displaying the contents of an EPS file. It won't let you edit it, but it is perfect for checking if you have the correct logo version before sending it off to a printer.
EPS vs. SVG vs. PDF: What's the Difference?
It can be confusing to know which vector format to use. Here is a quick breakdown to help you decide.
EPS: Best for print. It supports CMYK color modes which printers need. It is an older format but still universally accepted by print shops.
SVG (Scalable Vector Graphics): Best for the web. If you are putting a logo on your website, use SVG. It is code-based and loads very fast in browsers.
PDF: Best for sharing. A PDF can actually contain vector EPS data. It is the safest format to send to clients because everyone can open it.
If you are working with motion graphics, you might often deal with these formats. For instance, animating logos without vectors can be a nightmare, so having the source EPS or AI file is always the preferred starting point.
How to Convert an EPS File (Without Software)
Sometimes you just need a PNG or JPG version of the logo to put in a Word document or a slide deck. You don't need to learn design software for this.
You can use cloud-based converters like CloudConvert or Zamzar. These tools take your EPS file and render it into a high-resolution image.
Upload your EPS file.
Select PNG (if you want a transparent background) or JPG (if you want a smaller file size).
Set the density (DPI) to 300 if you plan to print it, or 72 for screen use.
Download your image.
This process is similar to other file conversions you might need, such as when you need to convert HEIC to JPG for compatibility with older devices.
Common Troubleshooting Tips
Here are a few issues you might run into when working with these files:
The colors look wrong: This usually happens because EPS files are often in CMYK (print colors), and your monitor displays RGB. It will look correct when printed.
I can't edit the text: To ensure the font doesn't change when the file is opened on a different computer, designers often outline the text. This turns letters into shapes. You can't type to edit them; you have to edit the shape itself.
The background isn't transparent: If you open an EPS in a program that doesn't support transparency well, it might fill the background with white. Make sure to export as a PNG to keep the transparency.