
You've transferred photos from your iPhone, tried to open them in Photoshop, Lightroom, or even a basic web uploader, and got nothing. HEIC files are invisible to most non-Apple software, which makes them a practical blocker the moment you leave the Apple ecosystem. Fixing this does not require uploading your private photos to sketchy online converters. Your operating system already has built-in tools to handle the job natively.
- Single File (Windows 11): Use the native Paint app for an instant export.
- Bulk Folders (Windows): Install PowerToys for fast background processing.
- Bulk Folders (Mac): Highlight files and use built-in Quick Actions.
- Power Users (Mac/Win): Deploy native sips or ImageMagick for the absolute fastest command-line processing.
The TL;DR Decision Tree: Which Method to Choose?
Choosing the right tool depends entirely on your operating system and the volume of your files. Sending one photo to a client requires a completely different approach than backing up a ten-year family archive. Use native apps for quick fixes, but switch to command-line or dedicated bulk tools the moment your file count exceeds twenty.
How to Convert HEIC to JPG on Windows 10 & 11
Windows traditionally struggles with Apple file formats, but recent system updates changed the landscape. You do not need bloated third-party software for basic viewing anymore.
The Native Way (Windows 11 Paint & Photos)
Windows 11 now opens HEIC files directly through the updated Paint application without requiring any extra extensions. Open your file in Paint, click File, and select Save as JPEG. One caveat: Paint strips EXIF metadata like GPS location and camera settings during export. For archival photos, use CopyTrans or PowerToys below instead. This is perfect for a single image where metadata does not matter.
Right-Click Menu Integration (CopyTrans)
If you constantly deal with Apple files, you need a system-level solution. Install CopyTrans HEIC for Windows to instantly generate image thumbnails inside File Explorer. Select up to 100 files, right-click, and choose Convert to JPEG with CopyTrans to process them natively in seconds.
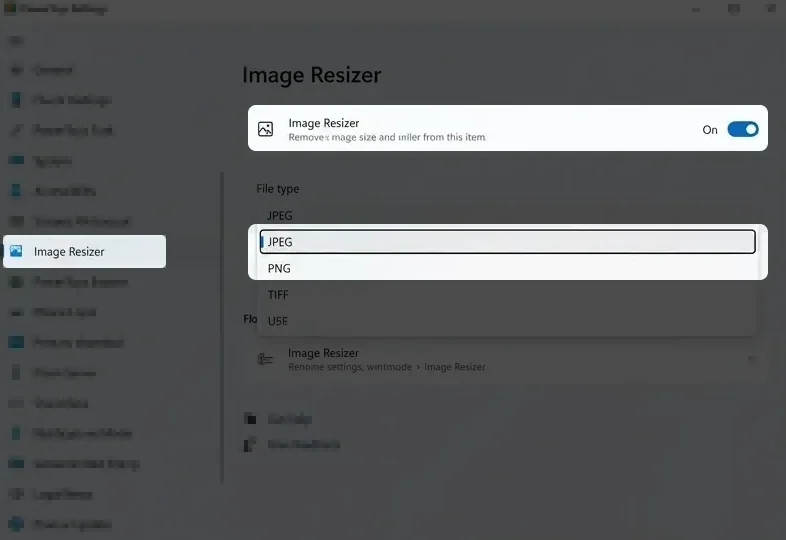
Bulk Conversion for Huge Folders (PowerToys)
Developers and power users should skip everything else and install Microsoft PowerToys. Enable the Image Resizer module within the application settings. Select thousands of HEIC files, right-click, and let the background processor convert them without freezing your computer or consuming all your RAM.
How to Convert HEIC to JPG on Mac
Apple natively supports the High-Efficiency standard across macOS, making viewing completely seamless. Exporting them for web uploads or non-Apple clients just requires a few specific clicks.
Quick Actions & Preview (Built-in)
For one or two files, double-click to open the image in Preview, go to File, and click Export to select JPEG. For batch processing, highlight all your images, right-click, and select Quick Actions followed by Convert Image. Set your format to JPEG and leave the image size at actual size to preserve your original resolution.
Terminal Method for Power Users (sips command)
Forget downloading heavy applications for automated batch jobs. Open your Terminal application (the Mac equivalent of Windows Task Manager is covered in our Ctrl+Alt+Del on Mac guide if you need to manage processes) and navigate to your target image folder. Run *sips -s format jpeg .heic --out ./converted/ to instantly transform every file in that directory. The native Mac tool handles memory management flawlessly during massive batch operations.
iPhone & Android Workarounds
Sometimes the fastest conversion happens before the file even reaches your computer hard drive.
The iOS Files App Paste Trick
Open your Photos app, copy the selected images, and paste them into a local folder inside the Files app. iOS automatically converts them to standard JPEG files on the fly. You can then transfer this specific folder via USB or cloud storage without ever worrying about desktop compatibility issues.
Stop Future HEIC Files (Camera Settings)
Prevent the formatting problem entirely by changing your default capture settings. Go to Settings, tap Camera, and select Formats. If your iPhone is unresponsive during this process, check how to force restart any iPhone to recover quickly. Change High Efficiency to Most Compatible. Your iPhone will now shoot standard JPEG files, using roughly 50 percent more storage space per photograph.
CLI Tools for Developers (ImageMagick)
Cross-platform developers working with automated image pipelines heavily rely on ImageMagick. Install the tool via Winget on Windows or Homebrew on Mac. Run *magick mogrify -format jpg .heic directly in your directory. This exact command overwrites the format while preserving your original EXIF metadata, making it the absolute best choice for photography archives.
When NOT to Convert (And Why Keep HEIC)
Converting files is not always the smartest technical move. If you share photos exclusively via AirDrop between Apple devices, leave them as HEIC. The format retains 16-bit color depth compared to the strict 8-bit limitation of standard JPEG files. More importantly, converting to JPEG is irreversible from a color-data standpoint. If you plan to re-edit these photos later in Lightroom or Photoshop, keep the originals as HEIC and only export a JPEG copy for sharing. Uploading to iCloud also preserves this superior data structure while halving your storage costs.
Quality vs. File Size: What to Expect After Conversion
Every file conversion alters your underlying data. Moving from High-Efficiency to JPEG instantly increases your file size by about 50 percent. A typical 2.5 MB iPhone photograph will expand to nearly 4 MB on your hard drive. Keep your JPEG export quality slider between 80 and 90 percent during batch conversions. Below 75%, skin tones start showing visible banding and fine textures become muddy. Above 92%, you get negligible visual improvement but the file size approaches the original HEIC size, defeating the purpose. At 85%, a 2.5 MB HEIC photo lands around 3.8 MB as JPEG. That is your practical sweet spot.