The ERR_CONNECTION_REFUSED or "Took too long to respond" error on 192.168.1.1 usually means modern browsers are forcing an HTTPS upgrade on a router that only supports HTTP, or your ISP quietly changed the default gateway during a hardware swap. Stop endlessly rebooting the modem; the fix requires bypassing browser security protocols or locating the newly assigned IP address directly from your operating system.
Common ISP gateway alternatives: 10.0.0.1, 192.168.0.1, 192.168.2.1
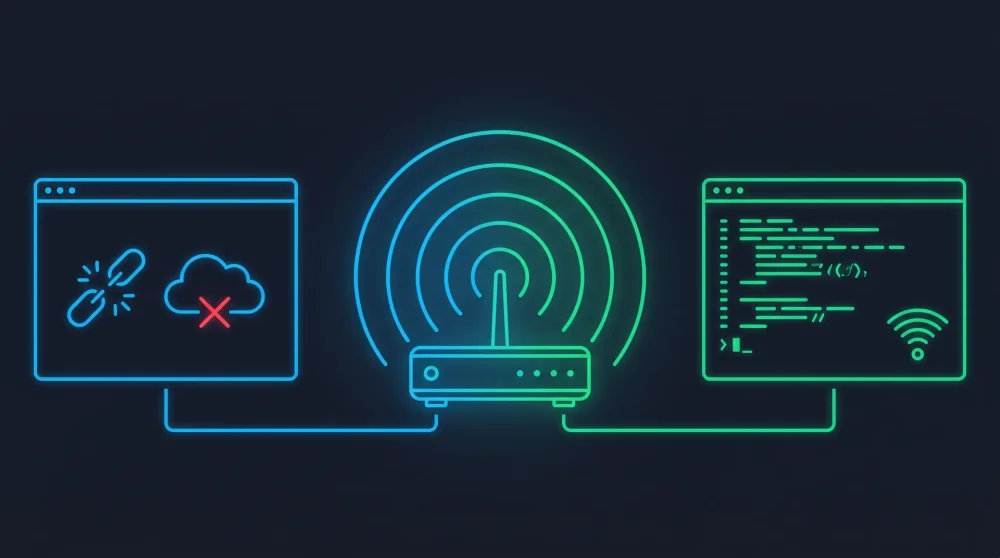
Windows command to find your IP: Open Command Prompt, type ipconfig, locate Default Gateway.
Mac path: System Settings > Network > Wi-Fi > Details > Router.
Quick browser bypass: Type http://192.168.1.1 manually and do not let the browser autofill the HTTPS prefix.
The Primary Reason: Your Gateway IP Changed
Upgrading your internet package or swapping a faulty modem often shifts the default IP address entirely. ISPs configure newer gateway models to use different subnets, rendering the classic 192.168.1.1 completely useless. You are essentially knocking on a door that no longer exists on your local network.
Relying on old manuals or the sticker on the back of a previous device is a common trap. The only foolproof method is extracting the active gateway address directly from your operating system.
How to Find Your Actual Router IP Address
Finding the exact address takes only a few seconds and prevents hours of frustrating guesswork.
On Windows: Press the Windows key, type cmd, and hit Enter. In the Command Prompt window, type:
ipconfig
Scroll down to your active network adapter and locate the number next to Default Gateway.
On Mac: Open System Settings and select Network. Click on your active Wi-Fi or Ethernet connection, hit the Details button, and check the IP listed under the Router section.
On iOS/Android: Tap the settings icon next to your connected Wi-Fi network. Look for the Router or Gateway entry in the network details list.
Browser HTTPS Upgrades Breaking Router Access
Google Chrome, Mozilla Firefox, and Microsoft Edge now automatically upgrade insecure HTTP connections to HTTPS. Local router admin panels rarely have valid SSL certificates. The browser attempts a secure connection, the router fails to provide the certificate, and the connection drops instantly.
This is the part most tutorials skip. The router interface is perfectly functional, but the browser's security enforcement treats the local IP like any other insecure website.
How to Force HTTP and Bypass the Warning
You must explicitly tell the browser to accept an insecure local connection:
- Clear your browser cache to remove any saved HTTPS redirects for the router IP.
- Open an Incognito or Private browsing window.
- Type
http://192.168.1.1manually - do not use autofill. - If a privacy warning appears, click Advanced and select Proceed to 192.168.1.1 (unsafe).
VPN and Browser Extension Interference
Running a VPN client encrypts your traffic and routes it through an external server, effectively removing your device from the local network. Your computer tries to find the router out on the wider internet instead of within your home network.
Browser extensions for ad-blocking or privacy protection occasionally mistake local IP traffic for external tracking. Disable your VPN entirely before attempting to access the admin page. Temporarily pausing privacy extensions also eliminates potential conflicts.
Account Lockouts After Too Many Failed Login Attempts
Modern routers have built-in brute-force protection. Entering the wrong admin password multiple times triggers a lockout timer, blocking all access to the login page even when the IP address is correct.
The router interface simply stops responding. Wait at least 15 to 30 minutes before trying again. If the lockout persists, unplug the router for a full minute to clear the temporary memory cache. If you are unsure of the correct credentials, the most common defaults are admin / admin or admin / password - but check the sticker on the bottom of your router first, as most modern ISP-provided units print the actual login credentials there. If waiting does not clear the lockout, skip to the factory reset step below.
IP Conflicts: Another Device Claiming 192.168.1.1
Setting up secondary routers, network switches, or devices with static IP configurations can create an internal IP conflict. Another device on the network claims the 192.168.1.1 address, confusing the primary router and breaking the admin portal.
To confirm a conflict, open a terminal or Command Prompt and run:
arp -a
If two entries show the same IP (192.168.1.1) with different MAC addresses, you have a conflict. Disconnect all devices from the router except the one you are using. Unplug any secondary mesh nodes or switches. Try accessing the page again with a direct Ethernet cable to the primary modem.
Hard Resetting Your Router as a Last Resort
When all diagnostic steps fail, a factory reset restores the original settings, including the default IP address and login credentials printed on the hardware sticker.
Locate the reset pinhole on the back of the router. Keep the device powered on, insert a paperclip, and hold the button for 30 seconds. The indicator lights will flash, signaling a complete memory wipe. This erases your Wi-Fi name, passwords, and any port forwarding rules, so use it only when nothing else works. After the reset completes, log in using the default credentials printed on the router sticker and reconfigure your network from scratch.
192.168.1.1 Fix at a Glance
| Error / Symptom | Most Likely Cause | Quick Fix |
|---|---|---|
| ERR_CONNECTION_REFUSED | Browser forced HTTPS | Type http://192.168.1.1 manually |
| Page loads but keeps redirecting | Cached HTTPS redirect | Clear browser cache, use Incognito |
| "This site can't be reached" after ISP visit | Gateway IP changed | Run ipconfig and check Default Gateway |
| Login page appears but won't accept password | Account lockout | Wait 15-30 min, or unplug router for 1 min |
| Works on laptop, not on phone | Phone still on mobile data | Switch phone to Wi-Fi only |
| IP loads on some devices, not others | IP conflict | Run arp -a and disconnect secondary devices |