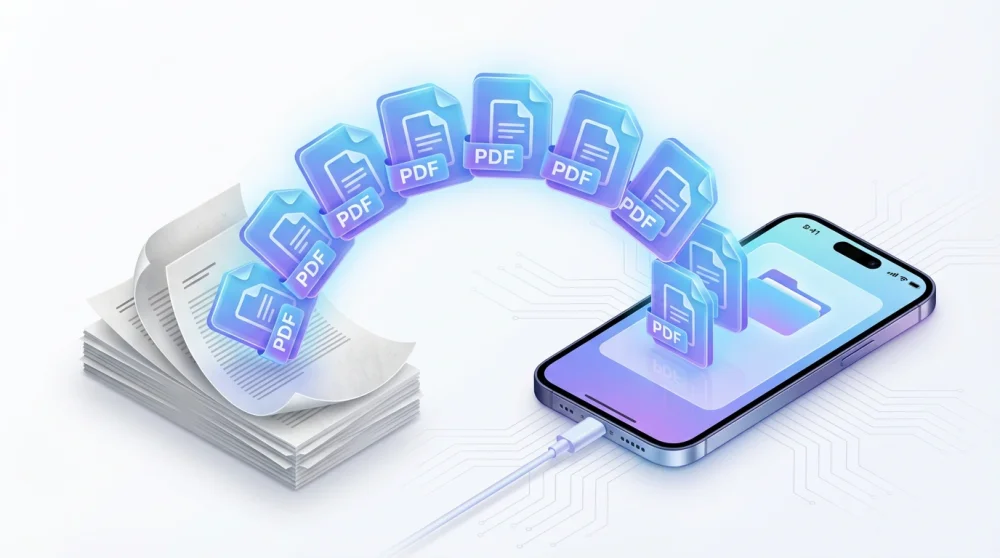

You probably don’t realize it, but you're already carrying an incredible pocket scanner every day, even though a ton of people still clutter their home screens with third-party apps packed with spammy ads and sneaky subscriptions. The native tools already tucked inside iOS are completely free, drop everything straight into iCloud without any fuss, and work surprisingly well. Whether you’re dealing with a crinkled grocery receipt, a lease agreement that needs your signature, or a stack of meeting notes, Notes and Files give you crisp, professional results - complete with built-in text recognition.
Quick Shortcut: When you’re on the move, you don’t even have to open the app the standard way. Just tap and hold the Notes icon on your home screen or straight from Control Center. A quick pop-up menu will appear, and tapping Scan Document throws you straight into camera mode without missing a beat.
Method 1: Using the Notes App (Best for Multi-Page Docs)
If you're putting together a multi-page PDF, Notes is easily your best bet. It automatically sniffs out the edges of your paper, straightens out weird viewing angles, and sharpens up the text so you don't end up with a blurry mess.
Open up Notes and either start a fresh note or jump into an existing one.
Tap the little Camera icon sitting right above your keyboard.
Hit Scan Documents from the popup options.
Point your camera at the document and line it up.
Auto vs. Manual Capture: Out of the box, the scanner starts in Auto mode. It tracks down the sheet, highlights the outline in yellow, and snaps the shot on its own. It’s fantastic on high-contrast surfaces, like white sheets on dark desks.
But if you're wrestling with folded paper or tiny receipts, tap Manual in the top right. That lets you snap the photo yourself and pull the crop corners exactly where you want them.
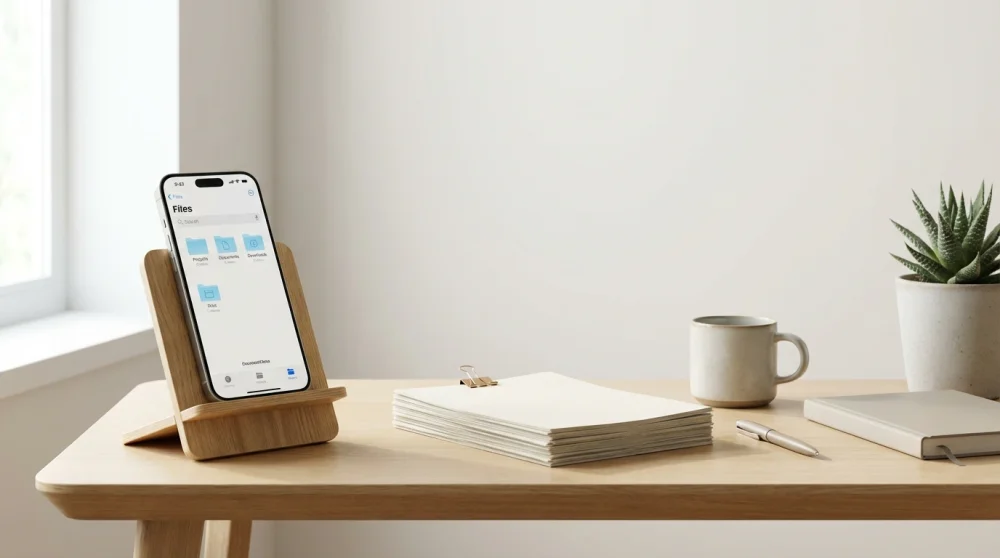
Getting the Cleanest Scan: Before you lock everything in and hit save, tap the Filters icon (the three overlapping circles). Switching over to Grayscale or Black & White works wonders on standard paperwork.
It strips out awkward shadows, turns up the contrast, and shrinks the file size down so it won't choke your email later. If your phone randomly locks up or behaves strangely while processing, a quick force restart iphone usually clears the hiccup right up.
Method 2: Using the Files App (Best for Save & Share)
If you just want the PDF tucked away inside a specific iCloud or Google Drive folder - and you really don’t need an extra note cluttering up your list - the Files app makes things much easier.
Launch Files and tap the Browse tab down in the bottom-right corner.
Head over to the exact folder where you want this document to live.
Tap the three dots in the top-right corner to open the menu.
Choose Scan Documents.
Snap your pages the exact same way you would in Notes.
The second you hit Save, your newly minted PDF sits right in that folder, ready to roll. It’s a huge time-saver if you like keeping your digital life neatly organized by project or need to send files straight into cloud storage without extra steps.
How to Sign and Edit Your Scanned Documents
Forget about hunting down an actual printer just to sign your name on a single page. Your iPhone lets you drop a legitimate digital signature right onto your scan in seconds.
Pull up your fresh PDF inside Notes or Files.
Tap the little Markup icon (the one shaped like a pen tip).
Hit the + button down in the lower right corner and pick Signature.
Scribble your signature with your fingertip (iOS will even save it for next time).
Drag it onto the dotted line and tweak the size until it looks natural.
You can also drop in clean text boxes to fill out blank forms or use the magnifier to pull focus onto fine print. When you're getting ready to fire these off, brush up on basic email habits; getting clear on email cc meaning vs bcc saves you from accidentally blasting private contracts to people who shouldn't see them.
Extract Text from Scans (Live Text & OCR)
One trick people sleep on is using Live Text to grab words directly off the scanned page. It basically turns flat physical paper into live, editable copy without you having to retype anything manually.
Pull up your scanned file on screen.
Press and hold on any word or sentence in the document.
Drag the blue grab handles over whatever text you want to grab.
Tap Copy.
From there, you can drop the text straight into an email, a chat, or a document draft. It’s a lifesaver when you want to cite a quote from a book or borrow a paragraph from a printed handout. And if you happened to snap a regular photo rather than an official scan, knowing how to convert heic to jpg keeps your files friendly for folks on Windows or Android.
Troubleshooting Common Scanning Issues
Even with Apple’s smart image processing running behind the scenes, bad lighting can still ruin your shot. Keep these quick tricks in mind for clean, crisp pages:
Ditch the Overhead Shadows: The number-one culprit is the shadow cast by your own hands or phone. Try standing by a window so the daylight hits the page from the side, or tilt the phone ever so slightly instead of holding it flat above.
Use a Contrasting Surface: Drop white sheets on a dark tabletop or counter. If your paper blends in with the background, the edge-detection sensor will struggle to figure out where the page actually ends.
Tame Crinkles and Folds: Creases make lines bend and warp. Use a couple of smooth paperweights or small coins on the edges to pin down crumpled receipts and mail before you snap the shot.