

Grabbing a screenshot on a Mac always feels super simple at first - right up until you actually try to freeze a finicky hover state, strip out that bulky default drop shadow for a clean documentation layout, or script the whole thing through the Terminal. The standard shortcut gets you through maybe 90% of your day, but that remaining 10% is where things get tricky, especially if you spend a lot of time writing code, building apps, or polishing technical assets.
So let’s look a bit past the surface stuff. We’ll cover not just the quickest ways to capture what’s on your display, but also how to dictate where macOS dumps those images, what file formats make the most sense for what you're doing, and how a few quick terminal tweaks can shave real friction off your daily workflow.
Quick Reference Cheat Sheet
If you’re stuck right now and just need the exact key combination without reading through an entire walkthrough, here’s your quick-hit reference list:
| Action | Shortcut |
|---|---|
| Capture Entire Screen | Command + Shift + 3 |
| Capture Selected Area | Command + Shift + 4 |
| Capture Specific Window | Command + Shift + 4, then Spacebar |
| Open Screenshot App (UI) | Command + Shift + 5 |
| Save to Clipboard | Add Control to any of the above |
The Essential Keyboard Shortcuts
Because macOS bakes these tools right into the operating system itself, the shortcuts kick in instantly without lagging behind whatever browser, editor, or heavy software you have running in the background.
Capture the Entire Screen
Hit Command + Shift + 3. You’ll hear that familiar camera shutter sound, and a tiny preview thumbnail will briefly float down in the bottom-right corner of your screen.
Out of the box, macOS drops that capture right onto your Desktop as a PNG. It’s easily the most direct way to grab everything you’re looking at in one go, including open app windows, the menu bar up top, and your dock.
Capture a Selected Portion
Hit Command + Shift + 4. You’ll see your pointer switch into a set of crosshairs showing exact pixel coordinates. Simply click and drag a box around whatever area you want to snip, and the moment you let go of your trackpad or mouse, it captures the frame.
If your hand slips or you frame the box poorly while dragging, don’t let go yet. Just tap Escape while your finger is still held down, and the whole capture will cancel cleanly so you can start over.
Capture a Specific Window (The Cleanest Method)
This is honestly one of the best little tricks on the Mac, and it’s surprising how many people miss it. If you’re assembling technical documentation, filing a Jira ticket, or sharing a quick bug report, nobody needs to see your cluttered wallpaper or open background tabs.
Press Command + Shift + 4.
Let go of the keys, but don’t click anything just yet.
Tap the Spacebar.
Notice how your crosshairs instantly turn into a small camera icon.
Hover right over the exact window you want (it will tint blue to show it’s selected).
Click once to grab just that isolated window.
This shortcut automatically isolates the frame with clean rounded corners, transparency, and a gentle drop shadow so it looks polished straight away. If you recently moved over from Windows, these combos can definitely feel a bit foreign; checking out our walkthrough on the Ctrl Alt Del Mac equivalent should help get your fingers comfortable with Apple's layout.
Using the Modern Screenshot App
If you aren't in the mood to memorize a bunch of key combos, Apple added a dedicated visual interface in recent macOS builds that handles all of this through an on-screen control panel.
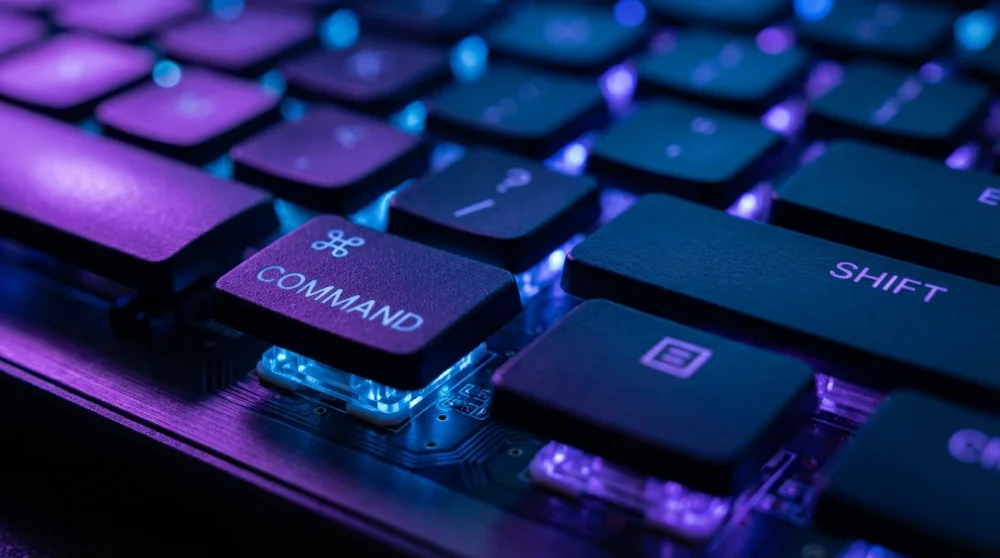
Just press Command + Shift + 5.
A slim toolbar will pop up near the bottom of your display. What’s handy about this overlay is that it gives you a few features the standard hotkeys simply can't do on their own:
Timer: You can set a 5 or 10-second delay. That delay is an absolute lifesaver when you need to capture a nested dropdown menu, an auto-closing modal, or a hover tooltip that vanishes the second you press any keys.
Screen Recording: You can record full video clips of your entire display or drag a box around a specific snippet of your screen.
Options Menu: This dropdown lets you easily reroute where captures go - like sending them straight to your Documents folder or Clipboard - without ever having to touch a command prompt.
Saving Directly to the Clipboard
Most of the time when you're working, you don't actually need a random screenshot sitting on your desktop forever. You just need to quickly drop a snapshot of an error into Slack, an open GitHub PR, or a Discord chat and move on with your day.
Whenever you want that behavior, just press the Control key alongside your usual screenshot combo.
Command + Control + Shift + 3: Snaps the entire screen straight to your clipboard.
Command + Control + Shift + 4: Lets you drag-select an area and copies it straight to the clipboard.
Once you let go, nothing lands on your disk; just head over to your chat or markdown file and hit Command + V to paste it right in.
Pro Tips for Developers (Terminal Tricks)
If you like tailoring your system so it gets out of your way, you can tweak plenty of hidden capture settings under the hood using a few quick shell commands.
Change the Default File Format
By default, the Mac saves everything as a crisp, uncompressed PNG. That’s great for high-resolution graphics, but the file sizes add up fast.
If you’re uploading assets to the web and want smaller JPGs - or even PDFs - you can swap the format in seconds. It’s the same sort of file-handling headache as when you need to convert HEIC to JPG to keep things universally readable.
Fire up your Terminal app and paste this in:
Bash
defaults write com.apple.screencapture type jpg;killall SystemUIServerIf you ever need something different, swap out jpg for png, pdf, tiff, or even gif.
Change the Default Save Location
If your Desktop constantly looks like a minefield of stray Screenshot... files, set up a dedicated folder somewhere out of sight and funnel all future captures there instead.
Create a dedicated folder (something like
~/Pictures/Screenshotsworks well).Open Terminal and run:
Bash
defaults write com.apple.screencapture location ~/Pictures/Screenshots
killall SystemUIServer
Remove the Window Drop Shadow
Whenever you take advantage of that Spacebar window trick, macOS adds a fairly dramatic drop shadow around the edge. While it looks sleek in casual shares, it can ruin borders or cause ugly padding issues in clean technical documentation and blog templates.
You can turn that shadow off entirely with this:
Bash
defaults write com.apple.screencapture disable-shadow -bool true
killall SystemUIServer
If you ever want that default Apple shadow back, just run the exact same line with false instead of true.
Troubleshooting Common Issues
Screenshots are not saving: If you hear that camera click go off but cannot spot the file on your desktop, verify your clipboard first. It’s very easy to accidentally hold the Control key down by habit. Another common culprit is cloud storage: apps like Dropbox, OneDrive, or Google Drive love to ask for permission to automatically manage your captures and might be funneling them away into their own sync folders.
Shortcuts are not working: Head into System Settings > Keyboard > Keyboard Shortcuts > Screenshots. Check that the toggles next to the shortcut actions are still checked. Occasionally, heavy IDEs, graphic design suites, or window management tools will remap or overwrite these default system shortcuts.
File name clutter: If you snap dozens of images a day, seeing long names like Screenshot Date at Time.png stacked everywhere gets messy fast. While macOS doesn’t give you an easy toggle to redesign the exact timestamp string without installing third-party utilities, redirecting your save path via the Terminal commands above goes a long way. If you find yourself wrangling high volumes of files often, looking into how to open RAR files on Mac or getting comfortable with utilities like the Linux tail command (which has a direct equivalent sitting in macOS) will make handling files on your system way smoother.